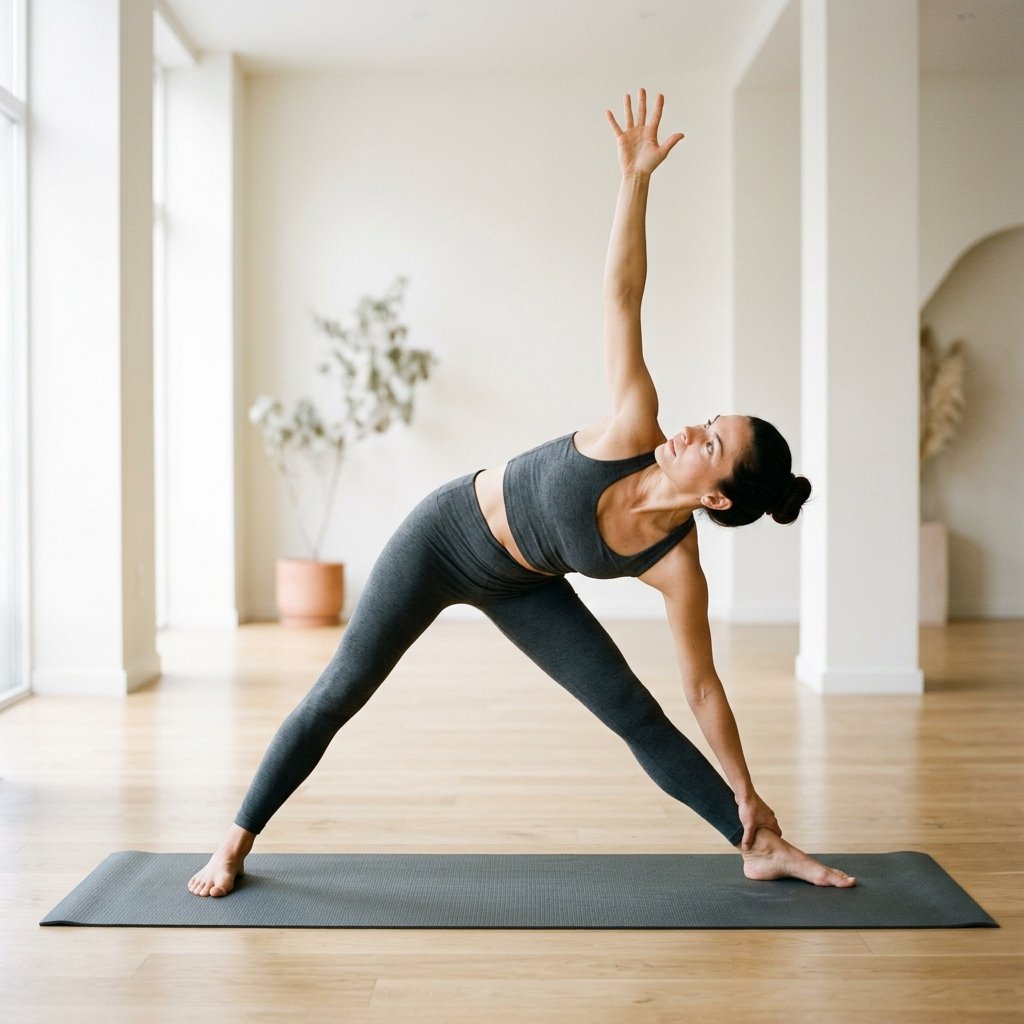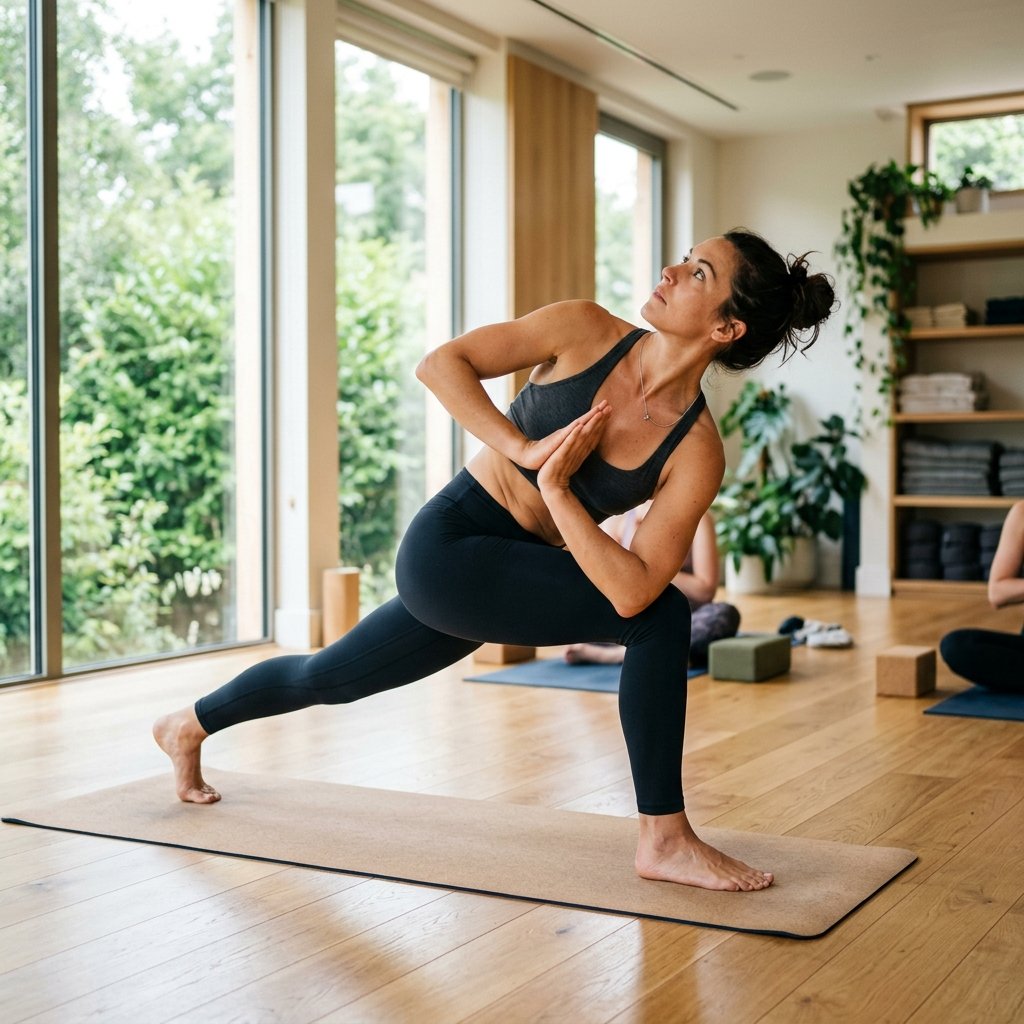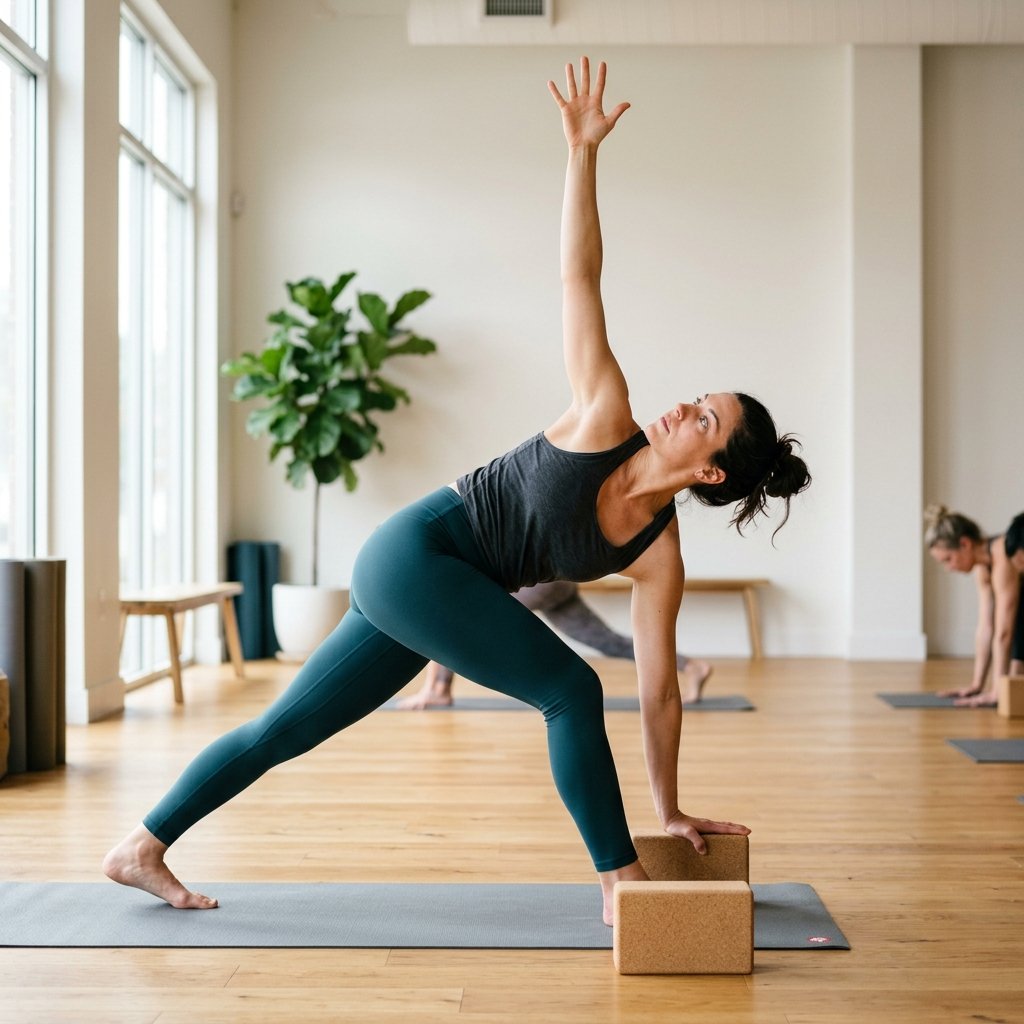
Revolved Triangle
परिवृत्त त्रिकोणासन · Parivrtta Trikonasana (pah-ree-vrit-tah trik-o-NAHS-ah-nah)
twist · intermediate
| Sanskrit Name & Meaning | परिवृत्त त्रिकोणासन (Parivrtta Trikonasana (pah-ree-vrit-tah trik-o-NAHS-ah-nah)) |
|---|---|
| Category | Twist |
| Level | Intermediate |
| Key Benefits | Stretches hamstrings, hips, and spine, Opens the chest and shoulders, Improves balance and core control |
| Best Time to Practice | Mid-sequence twist to build stability and range of motion. |
| Contraindications |
|
| Precautions | Do not force alignment at the expense of breathing freely; Keep joint structures stable and avoid hyperextension; Engage the core to protect the lower spine |
Origin & History
Historically, Revolved Triangle has been documented in traditional yoga texts and modern postural practices. Its application has evolved over the decades, becoming a staple pose in hatha, vinyasa, and restorative classes globally. The pose is respected for its ability to align the body, stretch key muscles, and ground the nervous system.
Sanskrit Word Breakdown & Meaning
The name breaks down into Sanskrit roots: Revolved Triangle is represented by परिवृत्त, which translates to its traditional form, combined with asana meaning "seat" or "pose." Together it forms Parivrtta Trikonasana (pah-ree-vrit-tah trik-o-NAHS-ah-nah). It is a foundational posture in modern and classical yoga systems, emphasizing structural alignment and breathing.
Benefits in Detail
Physically, practicing Revolved Triangle provides multiple benefits:
- Muscular Engagement: It actively engages the core, back, and spine muscles.
- Flexibility: It targets tightness in the stretches hamstrings, hips, and spine and helps release blockages.
- Mindfulness: By holding this posture for 5-10 deep breaths, practitioners develop a calm focus, balancing physical effort with mental stillness.
Step-by-Step Instructions
- Step 1
Stand with feet wide apart (about 3 feet). Turn right foot out and left foot in 45 degrees.
- Step 2
Inhale, square your hips to the front, and raise your left arm high.
- Step 3
Exhale and fold forward, placing your left hand on a block or the floor outside the right foot.
- Step 4
Twist your torso to the right, extending your right arm toward the ceiling.
Contraindications
While Revolved Triangle is generally safe and accessible, individuals with the following health conditions should practice with caution or seek suitable modifications.
Recent surgery or acute injury in the joints involved
Loading joint structures under alignment stress can aggravate inflammation or disrupt healing tissues.
Severe high or low blood pressure
Poses that tilt or invert the head alter blood pressure equilibrium, which can induce dizziness.
Precautions & Common Mistakes
Avoid forcing your body into this posture. Keep your breath slow and steady. If you feel any sharp pain in your joints, back, or neck, gently back out of the pose and rest. Focus on active alignment rather than depth.
Modifications, Props & Related Asanas
To modify Revolved Triangle:
- Props: Use blocks under your hands or a bolster under your hips/knees for added height and comfort.
- Wall Support: Practice near a wall to assist with balance or take the weight load off joints.
- Gentler Variation: Keep knees slightly bent or limit the range of motion to suit your body's flexibility.